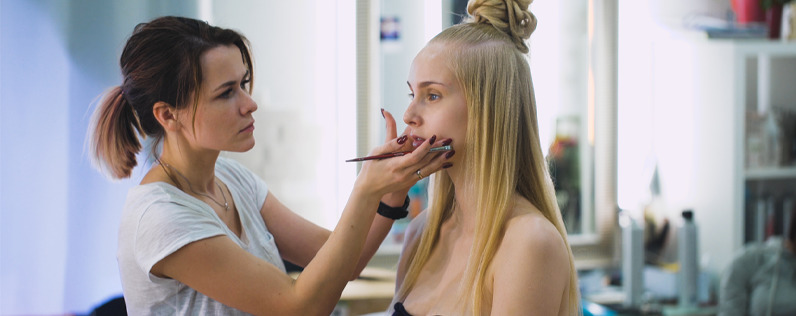
Since beauty salons have existed, photography has been a key part of marketing. Elegant photos of glamorous people are a mainstay on salon walls, and now those photos have shifted online. Professional photos of your clients give future clients a glimpse into your salon and how you can help them transform their looks.
Try these tricks next time you’re creating content for your social media feeds and draw people into your business. This article covers:
- How you can use professional photos
- Basic photography tips
- How to use your photos for marketing promotions
- 10 tips to improve salon photography
Why should you stage a professional photoshoot for your salon, and when you do, how will you use the photos?
We make it easy to get new clients and repeat business with all the marketing tools you need for your nails, hair, skin, or personal care business.
How you can use professional photos
In many salons, beauty shots and hair photos adorn the walls. These images not only contribute to the ambiance but also serve as a portfolio, showing clients what to expect.
If you are using social media to promote your salon, use these photos on your various feeds. Glam pictures are visually appealing, and people often seek them out when looking for a new style. Posting professional photos of your work is also an easy way to keep your content fresh.
But, as a stylist, you’re busy, and you can’t hire a photographer for every client. So here are some general rules you can follow to elevate your photos. When you create a client transformation that is truly inspirational, use these guidelines for better photos, and keep them in mind when you want to stage a photo shoot.
Basic photography tips
Invest in a camera
As the cameras included on smartphones become more sophisticated, it’s tempting to use your phone to take all of your promotional photos. But even the most advanced phones don’t offer the full range of features available in a digital camera.
Digital cameras range in price from $200 to well over $1,500. You don’t have to spring for the top-of-the-line model, but you should pay attention to features, including sensor size and image stabilization. Cameras with a larger sensor size offer greater focus on your subject, ideal for hair and makeup.
Include an Interesting Focal Point
Like other beauty shots, your focal point will be your model, but sticking them in the center of the picture is not visually interesting. A focal point serves as a guide that directs the viewer where to look. Most fashion photographers use poses to create them. You can establish an interesting focal point using:
- Sharp focus
- Contrasts in lighting
- Warm colors
- Composition
Even lenses of different lengths can change how your image looks by changing the level of focus on the subject. Practice creating focal points with your pets, your friends, or household objects.
Use the rule of thirds
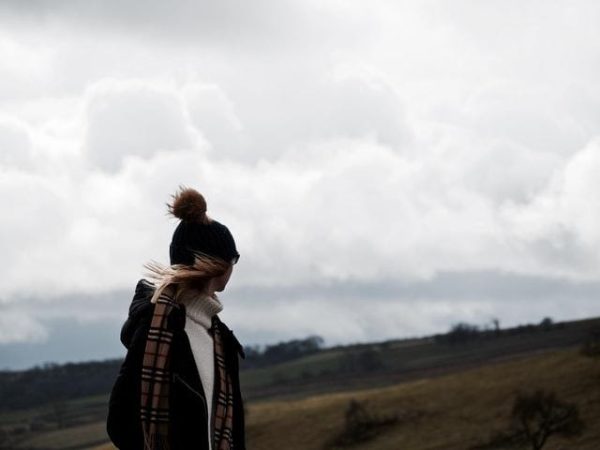
In photography, the rule of thirds applies to the composition of your picture. Imagine a grid of nine squares with three horizontal lines and three vertical lines when you’re taking a picture. The subject of your photo should always fill two or more squares and should be placed at the intersection of the boxes.
Use good lighting
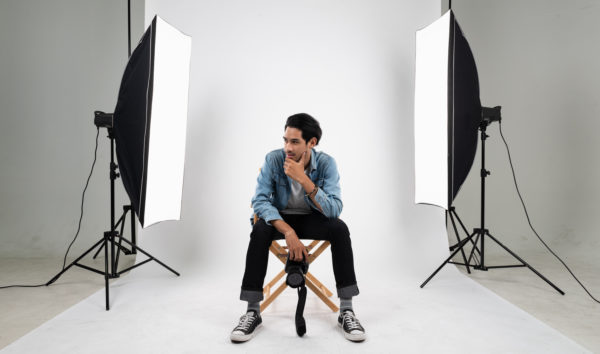
Beauty photos are best created with good lighting. Your subject should be lit well enough for a good picture, but avoid direct lights, as this creates harsh shadows. If you’ve ever taken pictures outside on an overcast day, you have an idea of the best lighting conditions for beauty shots.
Create this lighting inside by using lights that are angled and point them toward a screen or use a diffuser. By placing a light diffuser around the flash, you can spread light evenly around a subject. Use the diffuser to reflect light onto your subject. If you’re using a ring light, keep it at an angle to avoid unflattering shadows.
Learn how to edit pictures
Programs like Adobe Photoshop let you create beautiful, professional-level photos. You should compose a photo using your given lens. Whether you’re using a camera with a view-finder or using your phone to photograph your work, you should have an idea of your composition before snapping the photo. But you should also know how to crop your photos to create a stronger composition.
Photo-editing software also lets you enhance the color and bump up the contrast in your pictures, which can make hair colors look richer. But remember that these programs do have limits. For example, you can’t use them to bring blurry images into focus.
How to use your photos for marketing promotions
If you have a quality camera and a basic understanding of photography, you can use it to take before and after pictures of your clients and post them to your website and social media feeds (with permission, of course).
Inside your salon, you can frame images from your photoshoot and hang them on your wall. These pictures may blend in with the background looking like art, or they can help inspire clients.
If you’re in a new salon or a new city and want to build your clientele, use images from your photoshoot on the portfolio section of your website, and post outtakes or additional pictures to social media using hashtags that help new clients find you.
Some styles require more finesse than others. If you’re a stylist specializing in certain hair-cutting and coloring techniques, promote them on social media. You can also post pictures of your favorite products with tips for creating looks.
Use client photos to promote specials or salon openings. Showcase your best results to inspire your followers and attract new clients.
10 tips for improving your salon photography
1. Learn how to use your camera
If you’ve invested in a professional camera for salon photos, learn to use it. Read your manual, watch online tutorials, and practice. Digital cameras have an auto-focus feature for novice photographers. But knowing how to manipulate your shutter speed and using selective focus to create depth of field can elevate your pictures.
Many mobile phone models offer cameras with comparable quality to professional equipment. If you’re using your phone for the shoot, test out different photo features. Take pictures in portrait mode and with other settings to see how they can be used to enhance photos.
Before setting up a salon photoshoot with hair models, practice using your camera. When you’re comfortable with your ability to work with different lighting conditions and create stunning pictures, schedule your photoshoot.
2. Use a variety of models
Hiring professional models for your salon photoshoot can be costly, but that doesn’t mean you should just use your friends as models to save money. A goal of your photoshoot should be to highlight your diverse skills, so use a variety of models with different hairstyles and different types of hair. Ask your current clients if you can photograph the finished product before they leave the salon.
You can find models through social media. Look through Instagram for hair models who fit into your brand and may be willing to work with you.
3. Shoot in natural light if you can
For best results, shoot in natural light. You don’t have to shoot outdoors, but use an indoor space that has large windows. Since your goal is to focus on the hair, don’t worry about creating an elaborate set. You can buy a simple backdrop that lets you focus on the styling.
Natural light also makes it easier to edit your photos later. You can get better color balance in a well-lit photo than if you need to edit to fix lighting mistakes.
If you’re shooting in an area with no natural light, use the lighting tips mentioned earlier in this article for better pictures.
4. Don’t shake
Even if you’re using a digital camera with automatic settings, it’s still possible to shake, which creates blurry pictures. In low-light conditions, your shutter will stay open longer, letting more light into the camera. In these situations, it’s easy to shake your camera.
If you can, use a tripod for stability. Many cameras have timing settings that let you set up the photo and walk away. You can also get a remote shutter release that enables you to take a picture without holding the camera.
5. Take test shots
When shooting your models, keep your camera hooked up to a laptop so you can see the actual photo. Before shooting the models, use an assistant to test out your set and lighting. Position them where you will place the models and take pictures from many different angles.
This lets you see where you need to fix your lighting before working with models so the shoot itself will run smoothly.
6. Take multiple shots
For every shot you post on your website, you may have dozens on your memory card. Sometimes, a composition that worked in your head doesn’t translate into an actual image. Taking multiple photos from a variety of angles gives you more to work with.
If you take multiple shots of each model and each hairstyle, you can throw away blurry images. Even if all your pictures turn out well, you won’t waste time. You will have more images to post on social media later.
7. Use HDR settings to show contrast
If you’re a skilled colorist and want to shoot some of your best work, your camera’s HDR mode will help. HDR stands for High Dynamic Range, and it allows your camera to capture a wider range of colors. To show the depth created by highlights and lowlights, this setting is a must.
This can make the difference between a photo’s colors looking faded and vibrant. Just try taking a few photos with HDR mode on and off and see the difference for yourself.
8. Use different lenses
The ability to use different lenses is a benefit of using a digital camera instead of a phone for your salon photoshoot. Different lenses change how you focus on your subject. If you’re still distancing because of COVID, a longer lens lets you take close-up photos without standing too close to your model.
Different lenses also let you adapt to varying light conditions. If you’re shooting in a studio with low light, you can use a lens that helps your camera adapt. But most cameras only come with one lens, and lenses can get expensive. It’s best to stick with the low-cost models until you’re familiar with each lens.
9. Create an interesting composition
Use tools like the rule of thirds, symmetry, and negative space to add interest and balance to your pictures. Negative space refers to the shapes that are created around your subject.

Image from Wikimedia commons.
Using models to create shapes in the foreground and the background adds interest to your pictures and keeps them from looking static.
10. Show your best work
The point of learning salon photography is to help sell your skills to new and existing clients. Before finding a location, building a set, and hiring models, plan out which hairstyles you’re going to shoot.
Scroll through your social media to find some of your best work or make a mood board on Pinterest to guide your creative direction. Sketch out some ideas and have a few backups in your pocket in case one of your styles goes south on the day of the shoot.
When styling your models, keep it simple. Since the focus of your pictures is on the hair, don’t distract viewers with crazy clothes and jewelry.
What to do next
You probably won’t become an expert photographer overnight. Like any art form, it takes time and practice to perfect.
You already have a camera available on your phone. When snapping photos in your daily life, practice your composition skills and learn how to use lighting and focus to change your photos. Walk around your neighborhood and take pictures of everything from the buildings to the flora.
Practicing in your everyday life will help you sharpen your photographic eye and help you better understand how to execute your salon photoshoot. Your photos don’t have to be perfect. When you feel comfortable with basic techniques, get a camera and start practicing with your friends and family.
Soon, you will be able to execute a high-level salon photoshoot to effectively promote your business.


