It’s no secret that it’s getting harder for businesses to get their posts seen in Facebook’s news feed. Increasingly, the platform has become more “pay to play”, meaning that you’ll need to budget some money to promote your posts if you want them seen by all of your followers.
So how can you get more eyes on the content your business shares on Facebook without necessarily paying for it?
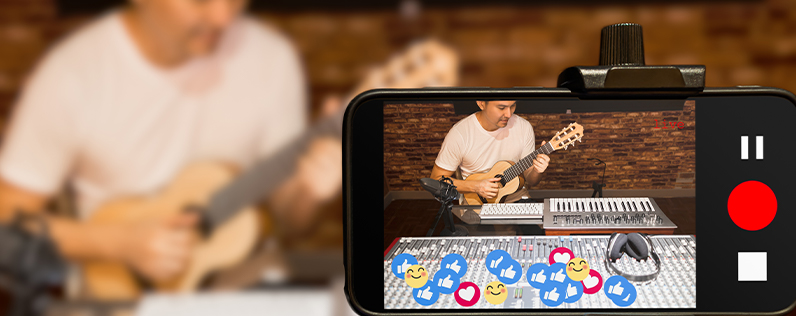
You need to start using Facebook Live.
Facebook has put a lot of emphasis behind its live streaming service. It even sends notifications to all the fans of your page when you are broadcasting live and shortly after your broadcast is over.
Live video also gets priority in the news feed. And your audience is craving live video — people tend to watch live video 10 to 20 times longer than on-demand content. So now’s the time to test it out to see if it works for your small business or nonprofit.
We’ve gone live at Constant Contact and want to share our our Facebook Live tips so that you can have a successful live streaming session on Facebook.
- Facebook Live tips and best practices
- 1. Create talking points and a call to action
- 2. Pick a location for your broadcast
- 3. Choose your broadcasting equipment
- 4. Do a dry run
- 5. Promote your Facebook Live broadcast
- 6. Give your broadcast a title
- 7. Pay attention to timing
- 8. Interact with your audience
- 9. Remind your viewers what’s happening
- 10. Organize and promote your Facebook Live video
- You can do this!
Facebook Live tips and best practices
1. Create talking points and a call to action
Before you tap the Go Live button, you should decide what the purpose of your broadcast is.
You can give people a look behind the scenes, show off new products, make an announcement, livestream an event, interview someone, or try a Q & A session.
Whatever you decide to focus on, create a list of topics you want to cover and questions you’d like to ask your guests or audience members, so you aren’t under pressure to think of things on the fly.
You also want to ask your audience to stick with you after the broadcast. Share a link to what you want them to do next — register for something, read something, buy something, or check out your website — in the description of your video and as a comment on the livestream.
2. Pick a location for your broadcast
Give your audience an interesting setting to look at during your broadcast. It could be your store or office or an event happening in the background. Make sure the location is well-lit and isn’t noisy so your audience can see and hear you clearly.
Facebook recommends that you have a strong wifi signal or a 4G connection before broadcasting. You can use tools like speedtest.net or the Federal Communications Commission’s speed test app for Android phones or iPhones.
When we did a Facebook Live broadcast from the Agents of Change conference in Portland, Maine, we knew that there would be a lot of people using the wifi at the event and we might not get a strong signal. So we brought a portable mobile wireless router with us.
3. Choose your broadcasting equipment
Right now, Facebook allows business pages to run a Facebook Live broadcast from its Facebook apps for smartphones and tablets. It’s easy to broadcast from either device, but you might want to choose one over the other based on what you’re broadcasting.
We were seated for the Agents of Change Facebook Live broadcast, so an iPad worked well because we could easily see any questions or comments posted by viewers. But when we did a Facebook Live broadcast from our webinar room before our recent webinar with John Haydon, a smartphone was a better choice so we could move around the room, show the environment, and interview the webinar hosts.
If you’re going to stay in one location, consider using a stand for your tablet or smartphone to get the best view.
4. Do a dry run
Practicing before a Facebook Live broadcast can help you become more comfortable before you go on the air. Try using your personal Facebook page and broadcast to your friends or change the privacy settings on the post to “Only Me.”
Facebook will save the video to your account, and you can review it to see if you need to make changes before your broadcast.
5. Promote your Facebook Live broadcast
Announce when you’ll be going live ahead of time in your email marketing and social media communications so your followers will anticipate your broadcast. You should also include an image that contains information about the time, date, and topic.

6. Give your broadcast a title
When you click the Live button on Facebook, the camera turns on and there’s a space on the bottom to provide a description of your livestream. Share details of what you’re about to live stream so anyone who sees the activity in their news feed or views it later knows what to expect. Tag any people or pages that are part of your broadcast to give it more context.

7. Pay attention to timing
Facebook suggests broadcasting for at least 10 minutes, and Facebook Live has a time limit of 4 hours. The longer you’re live, the more likely people will see your broadcast in their news feeds and possibly share it with their friends. Have a clock or a smartphone running a stopwatch app nearby to keep track of the time.
8. Interact with your audience
It’s important to greet your audience to make them feel like they’re a part of your broadcast. Facebook Live shows you the number of people watching your broadcast, but doesn’t show you their names, so you need to encourage them to talk to you.
Ask people an icebreaker question like “Where are you watching us from today?” You’ll see the names of the commenters with their answers. Greet people by name and share their locations with your viewers.
9. Remind your viewers what’s happening
Viewers will come and go quickly during your broadcast and they might not read your Facebook Live title. Be sure to remind them about what’s happening during your livestream.
Take periodic breaks to greet people who have just joined you. Introduce yourself, introduce them to any guests you’re with, share the location you’re broadcasting from, and talk about why you’re doing a livestream.
10. Organize and promote your Facebook Live video
Facebook will save your broadcast to your Facebook page’s video tab. From there, you can create a video playlist for your Facebook Live videos so they’re easy for your fans to find. Promote your videos after the broadcast by sharing a link to your Facebook page’s video tab or a link to the individual video.
Video content is popular with your email subscribers, as well. Don’t forget to include your video in your next email newsletter.
You can do this!
It may seem a bit daunting at first using Facebook Live, but these tips will give you a head start.
Adding Facebook Live to your Facebook marketing strategy is a great way to grab your audience’s attention on Facebook and get them to interact with your business. Create your first broadcast today and let us know what happened in the comments!
Not sure what to do for your first video? Use these live streaming best practices and ideas.


